How to Install Vintage Kitchen Cabinets Like a Professional?
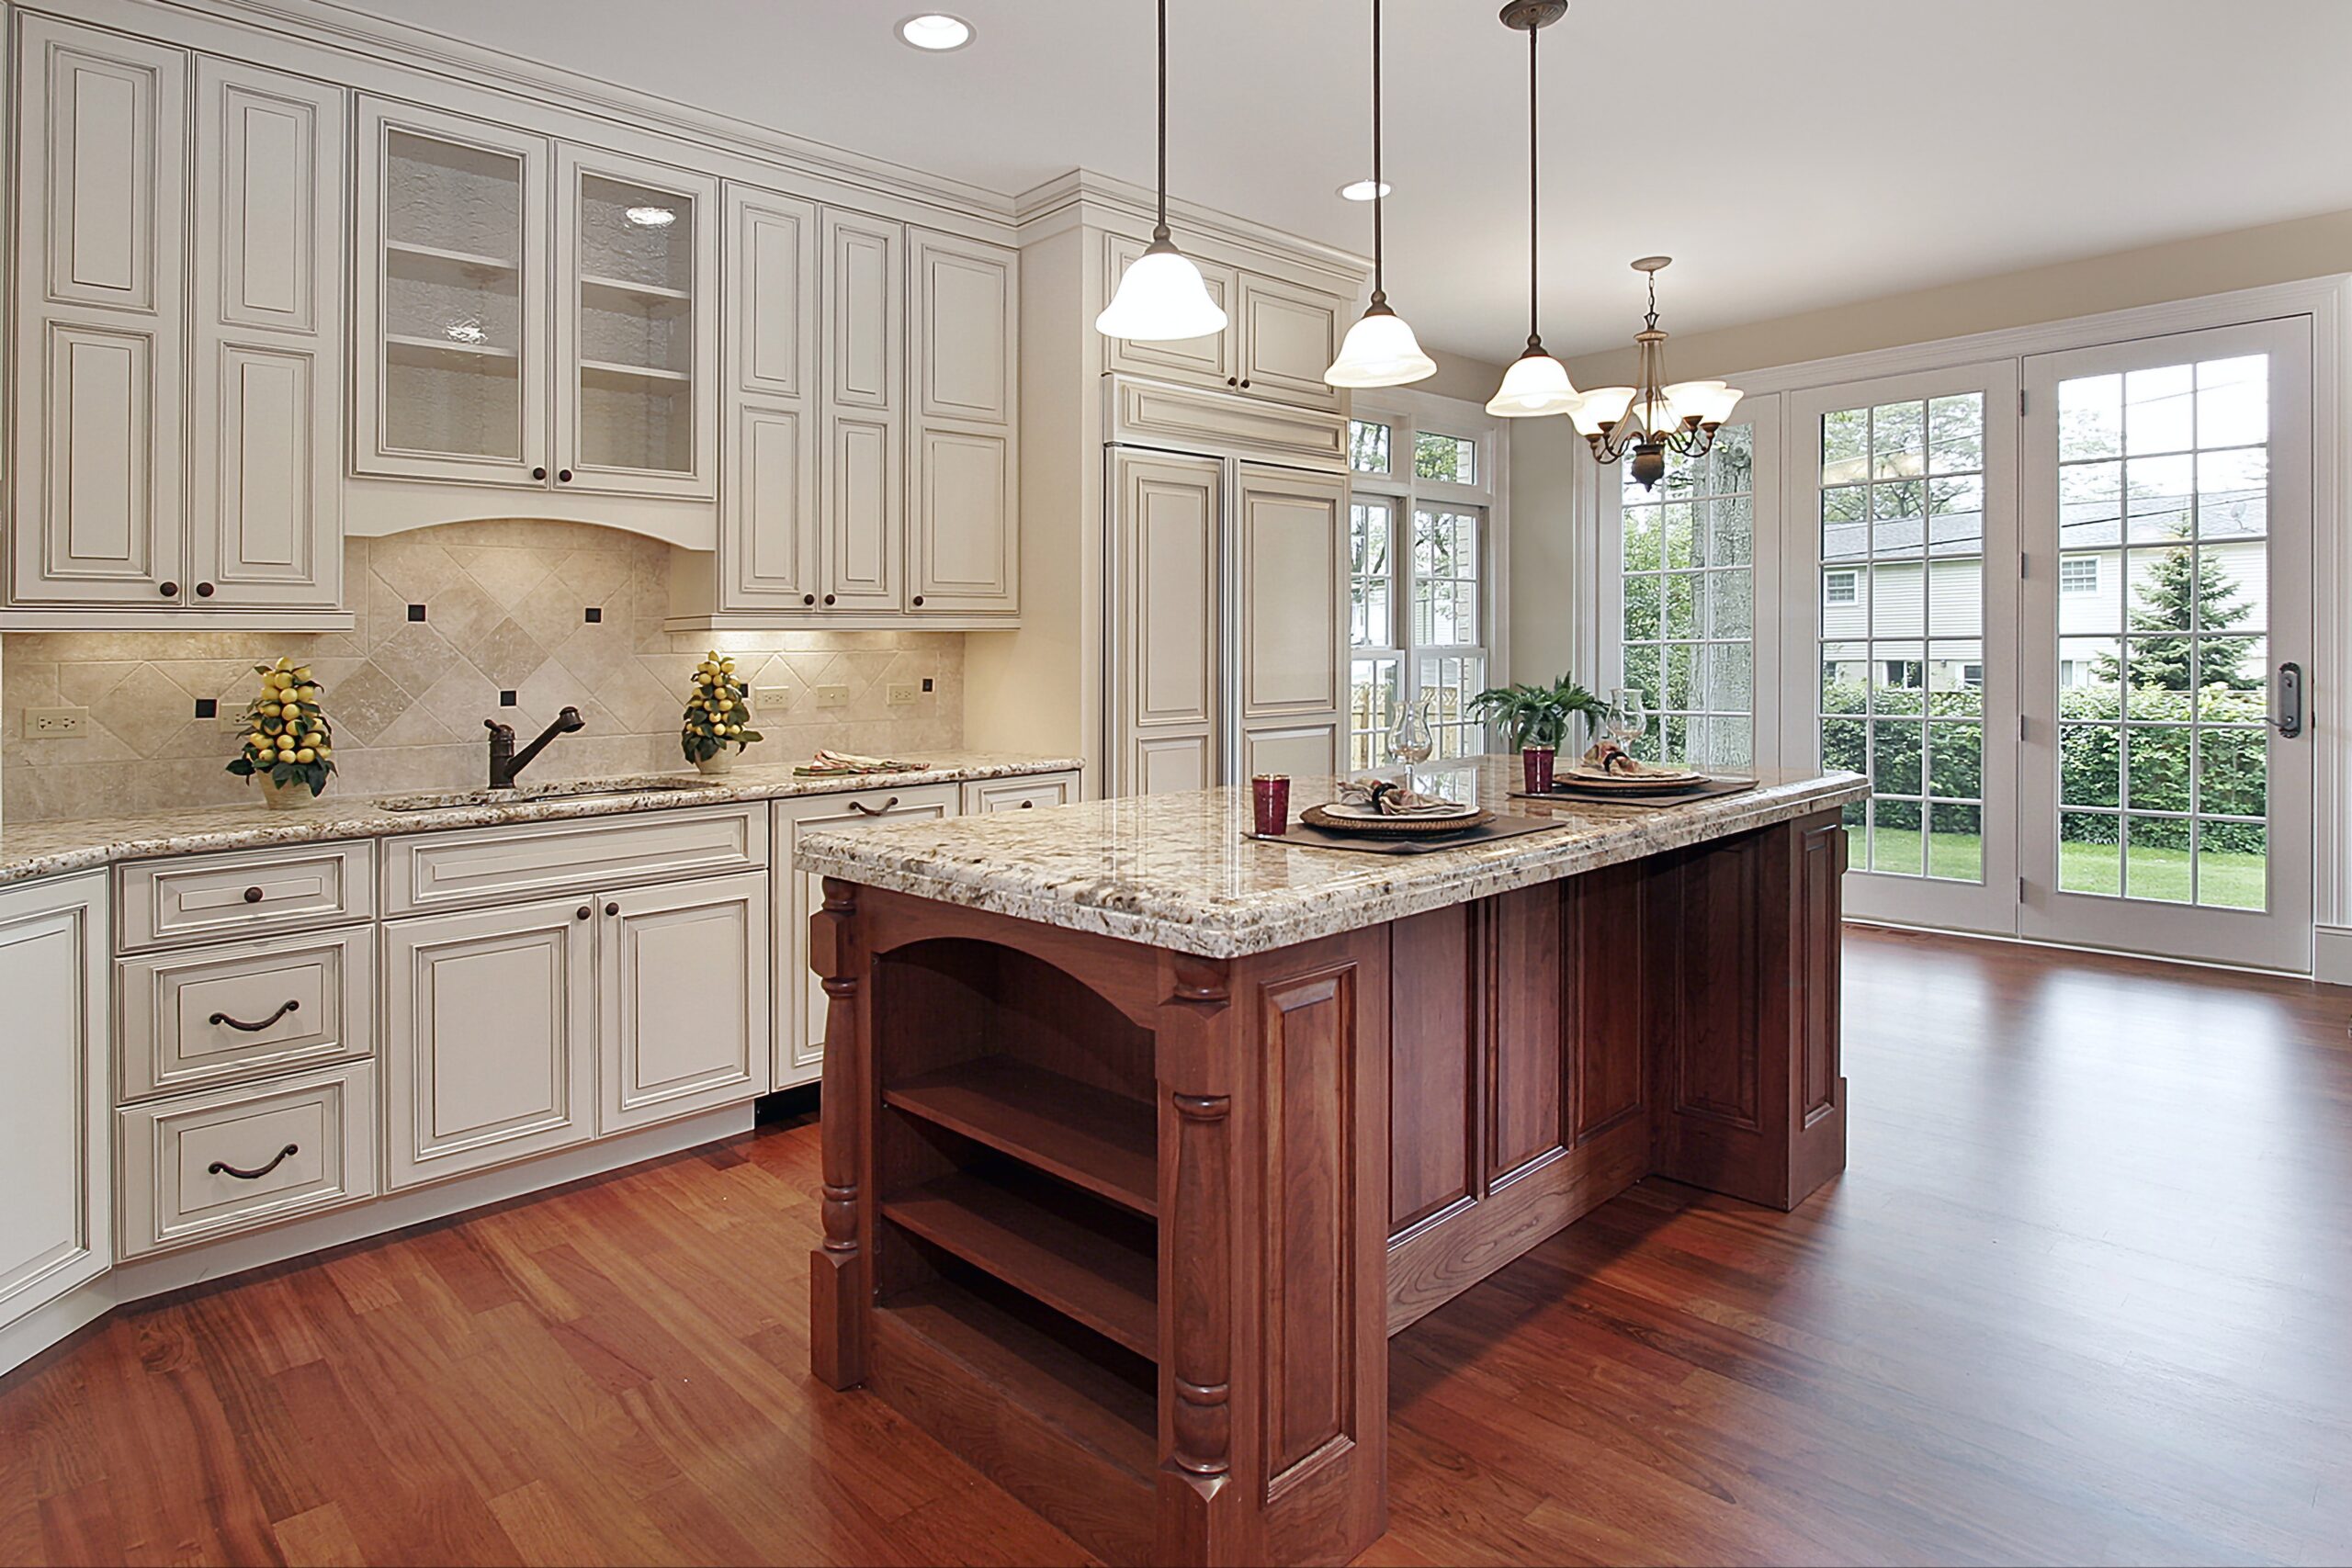
Beyond their functional role, vintage kitchen cabinets can elevate the aesthetics of your kitchen and contribute to a more convenient cooking experience. Knowing how to install these cabinets not only saves time but also proves cost-effective. For those DIY enthusiasts who relish creativity and hands-on projects, consider these straightforward steps for kitchen cabinet installation.
In this blog, we are going to list the step-by-step guide to installing vintage kitchen cabinets. Let’s check them out.
1- Plan Out and Prepare
Before you start with the process of installation, it is important to plan the installation process and prepare. Here is a list of essentials you are going to need in the installation process.
- The cabinets and other hardware
- Masking tape
- Measuring tape
- Screws
- Level
- Screwdriver
- Wood glue
- Shims
- Safety gear
- Ladder or stool
- Pencil
2- Measure First
Begin the installation process by measuring the kitchen space and creating a layout map for the cabinets. Determine the dimensions of the cabinets and mark them on paper to avoid forgetting them later. When mapping the cabinet layout, consider elements such as windows, doors, or any other obstructions that might impact the overall arrangement.
3- Assemble the Cabinets
Assembling cabinets one by one is the most straightforward approach to prevent parts from getting mixed up. Follow the manufacturer’s instructions for assembly, beginning with the wall cabinets, which will be installed first.
For a faster process, you can also expedite your cabinet installation by opting for preassembled cabinets. However, be aware that this option is pricier and has a higher likelihood of being damaged during shipment.
4- Begin with the Upper Cabinets
Commence with the installation of upper cabinets. Mark the cabinet height on the wall and proceed to install a ledger along the line indicating the bottom of the upper cabinets. This ledger will serve as a temporary support for the cabinets.
5-Install the First Base Cabinet
Just as with the upper wall cabinets, begin by fitting the base cabinets from the corner. Make use of the marks on the wall to place the studs on the cabinets and then drill the hole. Place the first vintage white kitchen cabinet into position taking the help of the horizontal line on the wall as your guide and check its plumb and level. You might have to use shims at the back or below. Screw it in place and make it tight enough to hold the cabinets in place.
6-Continue Installing the Base Cabinets
Drill pilot holes at the back and place the second one of the antique cream kitchen cabinets in position next to the previous one. Even shim and faces if required. Clamp the two cabinets close to each other and screw the second one in to simply hold it in place.
Connect the two kitchen cabinets in place as with the wall cabinet. Keep fitting the base kitchen cabinets along the wall in the same manner. Remember that you have to cut holes to plumb where the sink is located. Place a filler strip where there is a gap at the end. Tighten the screws and take out the clamps.
7- Fit the Doors and Trim
To finish installing the vintage cabinets, fit the cabinet doors and set the drawers in the tracks. Cut and attach the tow kicks. To get the best results add a base shoe contoured for fitting into the floor if there are bad gaps in between the floor and toe kicks.
Make sure you do not peel off the protective coating, which generally comes attached to the kitchen cabinet.
After you have installed them, make sure you know how to get a stain out of white cabinets to keep them looking new. Also, check out guides on the best thing to clean white cabinets.


Post Comment